Revit is a powerful tool that enables architects, engineers, and construction professionals to manage every aspect of a building project. Among its many features, the ability to use keynotes is particularly valuable for annotating construction documents with standardized notes. However, managing these keynotes efficiently, especially when creating and maintaining keynote legends, can be challenging. In this article, we’ll explore how to effectively create and manage keynotes in Revit, leveraging tools like the Revit Keynote Manager and understanding the nuances of creating a keynote legend and schedule.
Understanding Keynotes in Revit
Keynotes in Revit are text annotations that are linked to specific elements in your model. They serve as a standardized method of providing detailed information about components within your project. These notes are usually connected to a predefined database of text entries, ensuring consistency and accuracy across your project documentation.
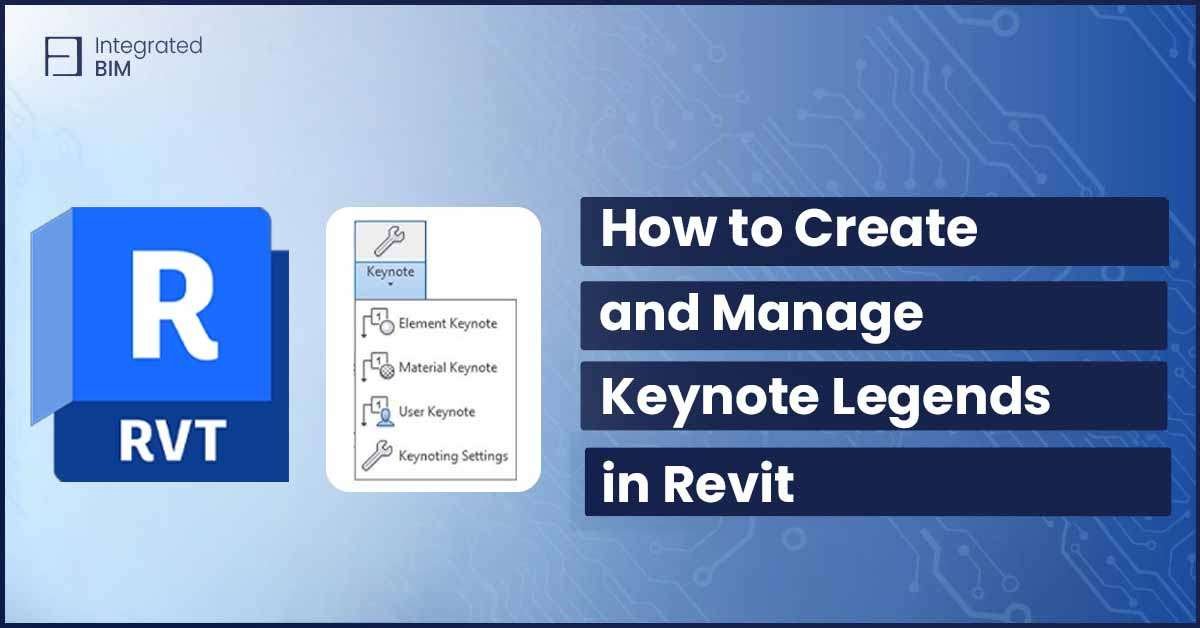
Revit allows you to assign keynotes to various elements within your model, which can be classified into three types:
- Element Keynotes: Linked directly to specific elements in the project.
- Material Keynotes: Associated with the material of an element.
- User Keynotes: Custom keynotes that can be manually attached to any element.
Using keynotes effectively can streamline the annotation process, reduce errors, and ensure that everyone involved in the project has access to the same information.
Setting Up a Revit Keynote Manager
Managing keynotes can become complex, particularly in large projects. This is where a Revit Keynote Manager comes into play. A Keynote Manager is a tool that helps you manage your keynote files, ensuring that all your annotations are accurate and up-to-date.
Steps to Set Up and Use a Revit Keynote Manager
- Create or Import a Keynote File: Revit uses a text file (.txt) to store keynote data. You can either create your own keynote file or import an existing one. This file should be structured in a hierarchy, with numbers and associated text for each keynote entry.
- Link the Keynote File to Your Project: In Revit, go to the ‘Annotate’ tab and select ‘Keynote Settings’. Here, you can link your keynote file to the project. This file will now be used as the source for all keynotes in the project.
- Editing the Keynote File: The Revit Keynote Manager allows you to edit the keynote file directly. You can add new keynotes, modify existing ones, or delete those no longer needed. It’s important to maintain a clear and organized structure within the keynote file to avoid confusion.
- Assign Keynotes to Elements: Once your keynote file is set up, you can begin assigning keynotes to elements within your model. Select an element, go to its properties, and choose the appropriate keynote from the linked file.
- Updating and Synchronizing Keynotes: As your project evolves, you may need to update or revise keynotes. The Keynote Manager ensures that all changes are reflected across your project, keeping your documentation consistent.
Creating a Keynote Legend in Revit
A Keynote Legend in Revit is a table that lists all the keynotes used in a project, along with their descriptions. This legend is typically included in construction documents to provide a clear reference for contractors and stakeholders.
Steps to Create a Keynote Legend:
- Open the Keynote Legend Tool: In Revit, navigate to the ‘View’ tab and select ‘Legends’. Choose ‘Keynote Legend’ from the dropdown menu.
- Configure the Keynote Legend: A dialog box will appear, allowing you to configure the content of your legend. You can choose to include only specific keynotes or all keynotes used in the project. Additionally, you can format the legend to display the keynote numbers, descriptions, or both.
- Place the Keynote Legend on a Sheet: Once your legend is configured, you can place it on a drawing sheet. This will create a dynamic table that automatically updates as keynotes are added or modified in the project.
- Customizing the Keynote Legend: You can customize the appearance of the keynote legend by adjusting its layout, text styles, and sorting options. For example, you can sort keynotes numerically or alphabetically, depending on your project requirements.
- Managing Multiple Keynote Legends: In larger projects, you might need to create multiple keynote legends to cover different sections or disciplines. Each legend can be configured independently to display only the relevant keynotes, ensuring that your documentation remains organized and easy to navigate.
Managing a Revit Keynote Schedule
A Revit Keynote Schedule is similar to a keynote legend, but it provides more detailed information and allows for greater flexibility in managing keynotes within your project.
Steps to Create and Manage a Revit Keynote Schedule:
- Create a Keynote Schedule: In the ‘View’ tab, select ‘Schedules’ and choose ‘Keynote Schedule’. This will open the schedule properties dialog, where you can define the parameters of your schedule.
- Configure the Schedule: You can choose which fields to include in your schedule, such as keynote numbers, descriptions, and associated elements. Additionally, you can set filters to display only specific keynotes or exclude those that aren’t relevant to your current work.
- Sorting and Grouping: Revit allows you to sort and group your keynote schedule by various criteria. For example, you might group keynotes by the element type or by the phase of the project. This makes it easier to manage large numbers of keynotes and ensures that your schedule remains clear and organized.
- Formatting the Schedule: You can customize the appearance of your keynote schedule by adjusting the column widths, text styles, and other formatting options. This ensures that the schedule is easy to read and fits neatly within your documentation.
- Placing the Schedule on Sheets: Like a keynote legend, the keynote schedule can be placed on a drawing sheet. This provides a comprehensive overview of all keynotes used in the project, making it an essential part of your construction documents.
- Updating the Schedule: As your project progresses, the keynote schedule will automatically update to reflect any changes to the keynotes or their associated elements. This dynamic updating ensures that your documentation remains accurate and up-to-date.
Best Practices for Keynote Management in Revit
Efficiently managing keynotes in Revit requires a combination of good organizational practices and the right tools. Here are some best practices to consider:
- Maintain a Clear and Consistent Keynote File: Keep your keynote file well-organized and up-to-date. Use a logical numbering system and clear descriptions to avoid confusion.
- Regularly Review and Update Keynotes: As your project evolves, regularly review your keynotes to ensure they are still relevant and accurate. Use the Revit Keynote Manager to make updates across the project.
- Use Filters and Sorting Options: In large projects, use filters and sorting options in your keynote legends and schedules to focus on the most relevant information.
- Collaborate with Team Members: Ensure that all team members understand how to use and manage keynotes in Revit. Regular communication and collaboration can help avoid errors and inconsistencies.
- Leverage Revit’s Automation Features: Take advantage of Revit’s automation features, such as automatic schedule updates and real-time legend updates, to save time and reduce manual errors.
By following these steps and best practices, you can effectively create and manage keynote legends, schedules, and annotations in Revit, ensuring that your project documentation is clear, accurate, and efficient.


