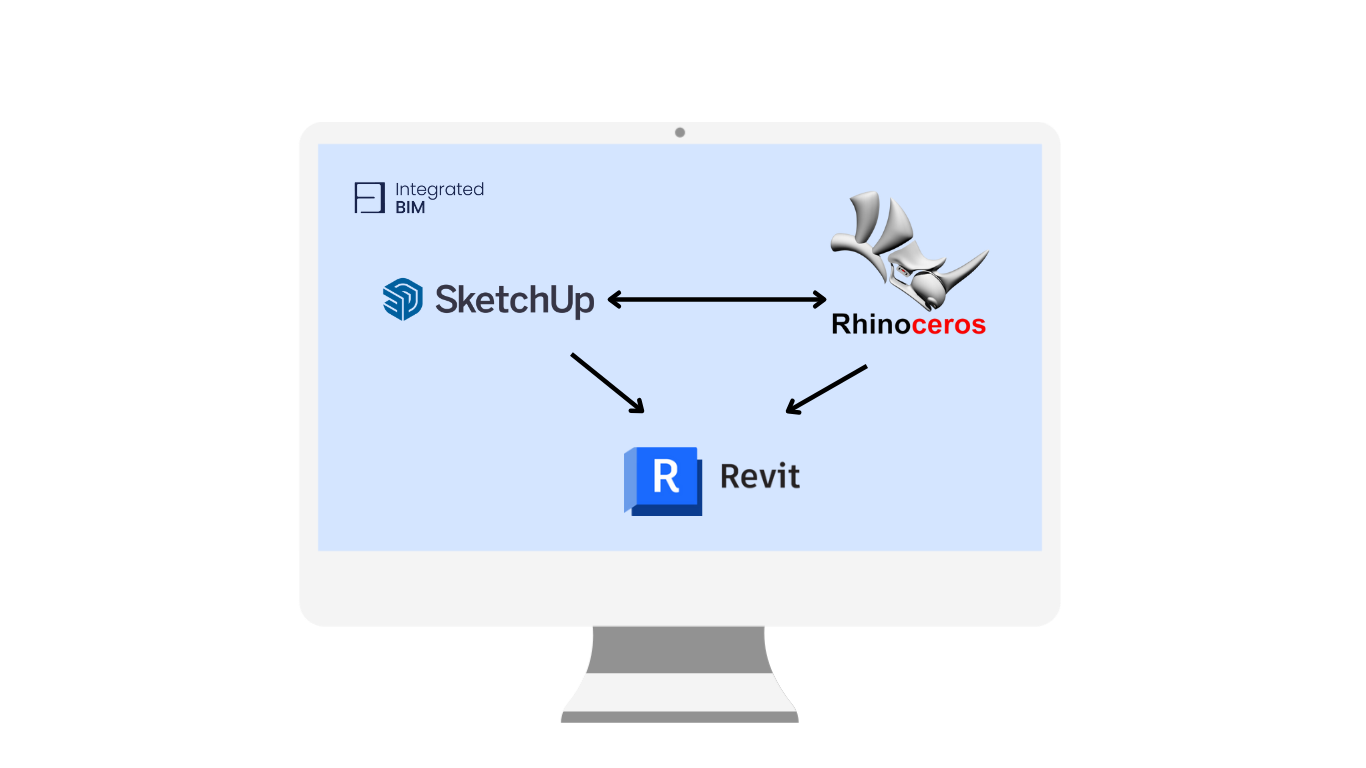
Bridging the software gap from Rhino and SketchUp to Revit presents a critical challenge in the architecture, engineering, and construction industries. The seamless integration of these diverse modeling tools into a single workflow is not only a matter of convenience but also a prerequisite for achieving precision in complex projects and an important condition for their success. This article discusses effective strategies for transferring models between these platforms, ensuring a seamless transition that preserves the integrity and accuracy of your designs.
By focusing on our Revit architecture expertise, we strive to provide professionals with the knowledge that allows them to optimize their workflows, reduce time spent on technical issues, and improve overall project outcomes with increased efficiency. Let’s explore practical steps to make your multi-program modeling experience as productive as possible.
How to Import a SketchUp to Revit?
Integrating Rhino and SketchUp to Revit can significantly increase the efficiency and accuracy of architectural designs. Each software brings different benefits: SketchUp is preferred for its user-friendly interface and rapid modeling capabilities, ideal for conceptual designs, while Rhino excels at handling complex geometries and creating detailed shapes, which is essential for complex design elements. When these models are imported from SketchUp to Revit, the combined benefits offer a complete solution that spans from initial design to detailed construction documentation.
This integration facilitates a seamless workflow where initial design concepts from SketchUp or detailed models from Rhino are enriched with Revit’s robust building information modeling features. For example, a façade designed in Rhino for its complex geometry can be brought into Revit to integrate structural elements and building systems, ensuring that all technical parameters match the architectural intent. Similarly, preliminary mock-ups created in SketchUp to Revit can be transferred to use its advanced coordination and collaboration tools, ensuring that the design stays on schedule and adheres to industry standards.
By leveraging the strengths of Rhino and SketchUp to Revit environment, teams can avoid the tedious task of redrawing designs, which not only saves time but also reduces the opportunity for errors. In addition, this process supports more informed decision-making throughout the project lifecycle, from initial design through construction, by maintaining a continuous and enriched flow of data between the different software environments. This strategic integration ensures that all project stakeholders have access to accurate and up-to-date information, facilitating better communication and collaboration across disciplines.
Here you will find some ways of how Sketchup and Revit interoperability is:
- As an “in-place” component
- As a “link”
- Through IFC export
Another way is if you have Revit Importer, available for SketchUp Studio subscribers, it makes importing Revit files into SketchUp simple, allowing SketchUp to:
- Create components
- Generate tags
- Create sections
- Optimize geometry
- Define materials
- Support Revit links

How to Import Rhino into Revit
Importing Rhino models into Revit involves a sequence of steps that bridge the capabilities of both software, enhancing the overall architectural design and documentation process. Here’s a practical guide on how to effectively integrate Rhino models into Revit:
- Prepare Your Rhino Model: Begin by cleaning up your Rhino model. Simplify complex geometries and remove unnecessary elements that may not translate well into Revit. This preparation reduces the load on Revit and ensures a smoother import process.
- Export from Rhino: Use the built-in export function in Rhino to save your model in a format compatible with Revit, such as DWG or IFC. Both formats preserve the geometric data, but choosing the right format depends on the detail and data needed in Revit.
- Import into Revit: Open Revit and create a new project or open an existing one where you want to integrate the Rhino model. Go to the ‘Insert’ tab and select ‘Import CAD’ or ‘Link CAD’, depending on whether you want the model to be embedded or linked. Navigate to the file you exported from Rhino and adjust the import settings to match your project’s needs.
- Refine the Model in Revit: Once imported, you may need to re-scale or rotate the model to fit your Revit project correctly. Use Revit’s tools to tweak the model further, like adjusting materials and layers, to ensure it integrates well with existing elements.
- Utilize the Model: With the model now in Revit, use it as a reference to continue developing more detailed building components or as a base to start new designs. The imported model can significantly enhance the accuracy and detail of your Revit project.
![]()
How to Export Revit to SketchUp
Exporting Revit to SketchUp can significantly enhance collaboration across different design teams that may use varied software tools. Here’s how you can export your Revit models to SketchUp, providing flexibility and extending usability of your designs in different environments:
- Prepare Your Revit Model: Begin by ensuring that your Revit model is optimized for export. Simplify complex elements, remove unnecessary details, and organize your elements into clear layers. This simplification will make the subsequent import into SketchUp more manageable and more efficient.
- Export to DWG: From Revit, export your model to the DWG format, which is compatible with SketchUp. In Revit, go to the ‘R’ menu, select ‘Export’, then ‘CAD Formats’, and choose ‘DWG’. Make sure to configure the export settings to maintain the integrity of the model’s geometry and layers.
- Import into SketchUp: Open SketchUp, go to ‘File’, then ‘Import’, and select the DWG file you exported from Revit. During the import process, ensure that you adjust the import options to match the scale and units of your original Revit model.
- Adjust and Optimize in SketchUp: Once imported, you may need to make further adjustments to the model in SketchUp, such as fixing any alignment issues, redefining materials, or tweaking edges and faces for better visualization.
Utilize SketchUp’s Tools: With your Revit model now in SketchUp, take advantage of SketchUp’s robust toolset to enhance the model further or prepare it for presentations and further design development. Learning how to export Revit to SketchUp is essential for teams that integrate diverse software tools to streamline their workflows and improve collaboration across different stages of the design process.
Bridging SketchUp to Rhino for Enhanced Workflow
Integrating SketchUp to Rhino models efficiently requires a strategic approach to ensure a seamless transition and enhanced functionality. Here’s how professionals can utilize both SketchUp and Rhino before moving into Revit, optimizing the architectural design process:
- Start with SketchUp: Many architects and designers begin their conceptual design process in SketchUp because of its user-friendly interface for rapid modeling. Use SketchUp to sketch out the basic form and structure of your project.
- Enhance and Refine in Rhino: Transfer your SketchUp model into Rhino to take advantage of its powerful NURBS-based modeling capabilities. This step allows for more complex surfaces and non-standard geometries, which are often required in detailed design phases. Tools in Rhino can help refine the design with greater accuracy and flexibility.
- Consolidation: Before importing into Revit, ensure that your Rhino model aligns well with the original SketchUp concepts, maintaining the integrity and the design’s core elements. This might involve re-scaling, re-orienting, or tweaking the model to ensure that all elements are correctly aligned and ready for the next phase.
- Workflow Integration: Once your model is refined in Rhino, use either direct import tools or third-party plugins to bring the 3D model into Revit. This approach ensures that the detailed work done in Rhino enhances the Revit workflow, not just in terms of aesthetics but also in structural detailing and documentation.
- Utilizing the Integrated Model in Revit: With the combined strengths of SketchUp’s initial design, Rhino’s detailed modeling, and Revit’s architectural documentation and coordination, the entire project benefits from a holistic approach that reduces errors, enhances collaboration, and speeds up the design and construction process.
Common Challenges and Solutions When Importing Models into Revit
Importing models from Rhino or SketchUp to Revit isn’t always a smooth process and can present several challenges. Here are some common issues and their solutions to help streamline your workflow:
Loss of Detail: Often, when importing models, fine details can be lost or appear simplified. To mitigate this, optimize the model in the original software (SketchUp or Rhino) before exporting by reducing polygon count and simplifying complex elements without compromising essential details.
File Compatibility Issues: Compatibility issues may arise, particularly with material textures or non-standard geometries. Ensure that the export settings in SketchUp or Rhino are correctly configured to be compatible with Revit. Exporting models as DWG or IFC files often provides better compatibility.
Scale and Orientation Problems: Models imported into Revit may not automatically match the project’s scale or orientation. To address this, always verify the scale and units in Rhino or SketchUp before exporting, and adjust the import settings in Revit to align the model correctly within the project environment.
Performance Issues: Large or complex models can significantly slow down performance in Revit. To avoid this, consider importing the model in parts or optimizing the model by removing unnecessary elements before importing.
Handling Updates: If the original model changes frequently, maintaining consistency between the files can be challenging. Using a linked CAD file approach can help manage updates more efficiently. Whenever the original model in SketchUp or Rhino is updated, the linked model in Revit can be refreshed to reflect these changes without needing to re-import the whole model.
Throughout this guide, we’ve explored efficient techniques for bridging the software gap between SketchUp, Rhino, and Revit, highlighting the strategic benefits of integrating these tools into your architectural workflows. By streamlining the import process, architects and designers can leverage the strengths of each program, enhancing precision, and fostering better collaboration across project stages.
As you strive to optimize your design processes, consider the specialized support that Integrated BIM can offer. If you’re looking to refine your approach to model integration or you need expert guidance on Revit functionalities, our Revit architecture services, and Revit BIM families are designed to assist you in achieving architectural excellence.